
In this tutorial, you will work with a few images you chose and you will create a nice looking illustration. The idea behind this illustration was to create a war between reality and line art. I tried to make this one simple, but at the same time to make it look good. I hope you enjoy the tutorial and try it with your own tools and stock.
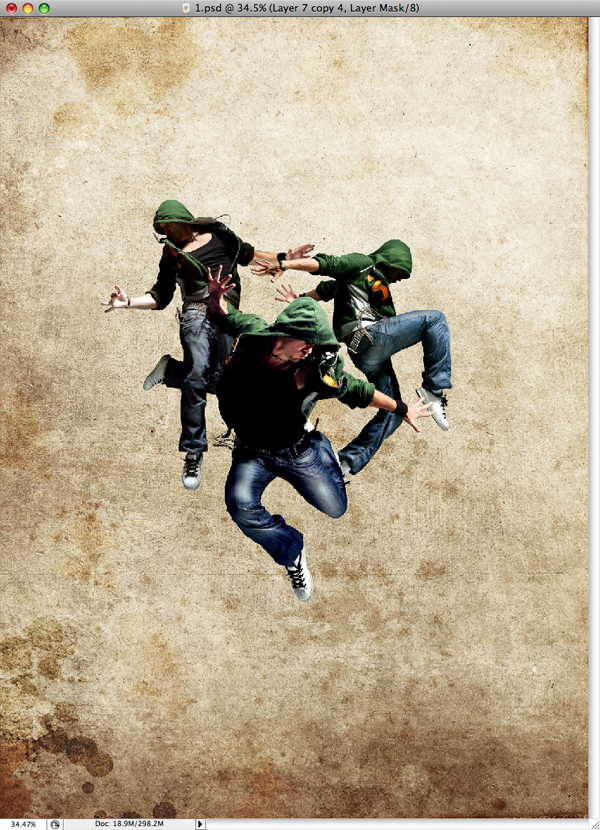
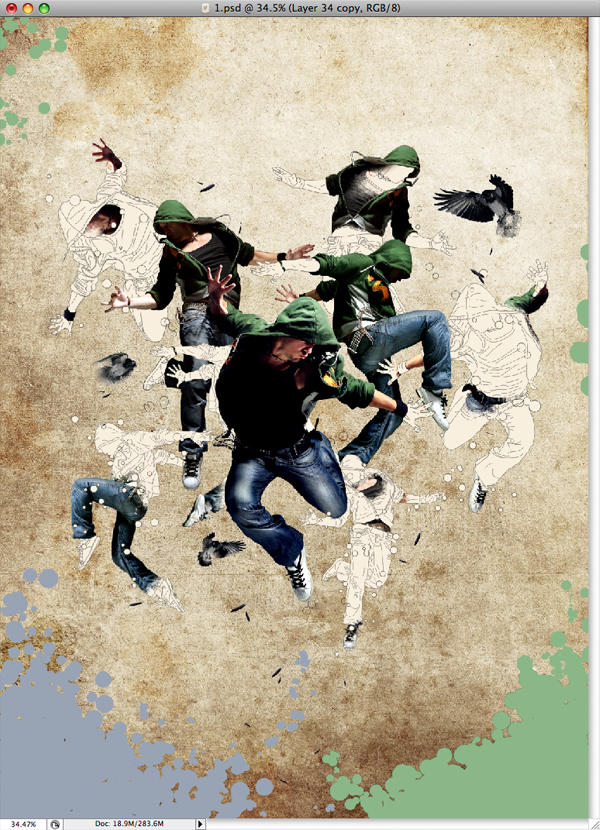
Final Image Preview
This style is reminiscent of the art of Jurryt Visser. It blends line art and photography into a seamless whole.

Step 1
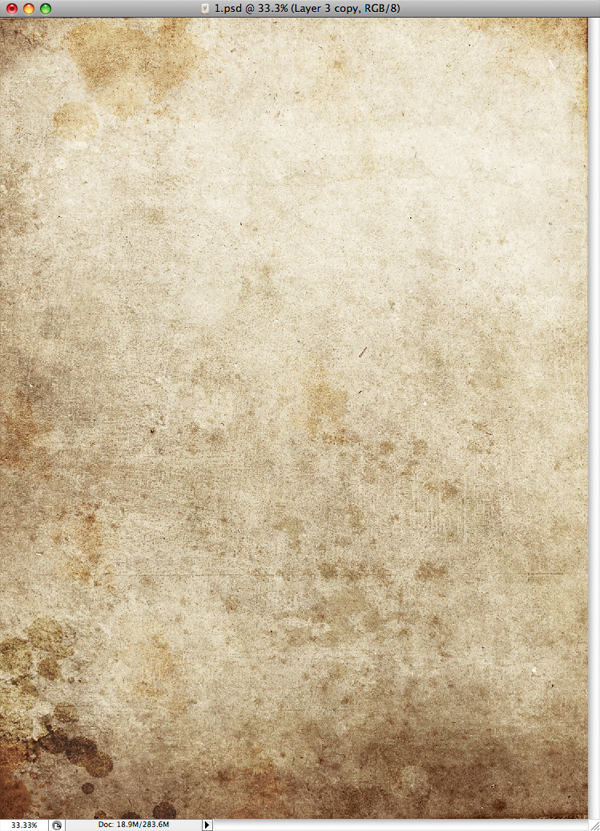
First create a new document that is 1100 pixels wide by 1500 pixels high at a resolution of 300 pixels per inch. For this project I will use a texture that I like very much. I would like to thank the author of this texture Princess-of-Shadows for putting this together. Now, move the texture into your document.
Step 2
Next you need to select the images you will use for this design. I bought three nice images that you might be familiar with 1, 2, 3.
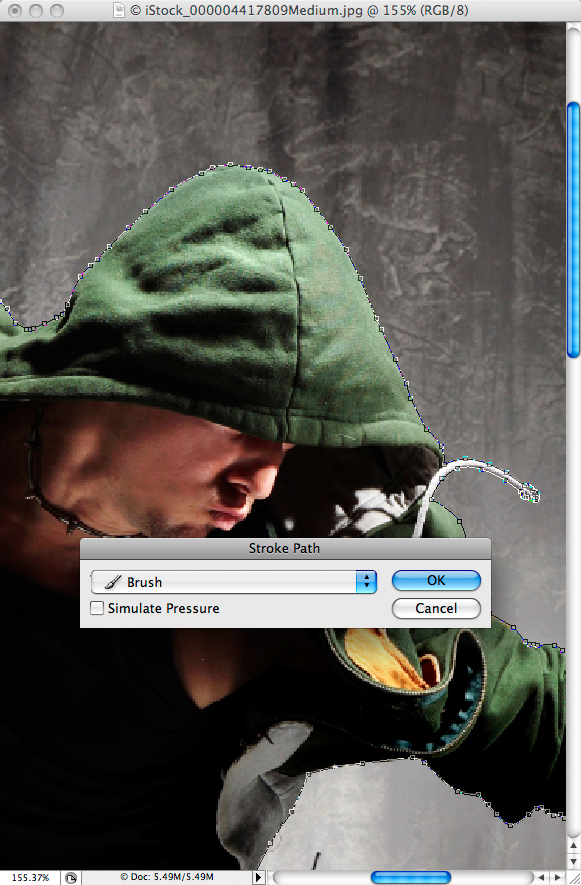
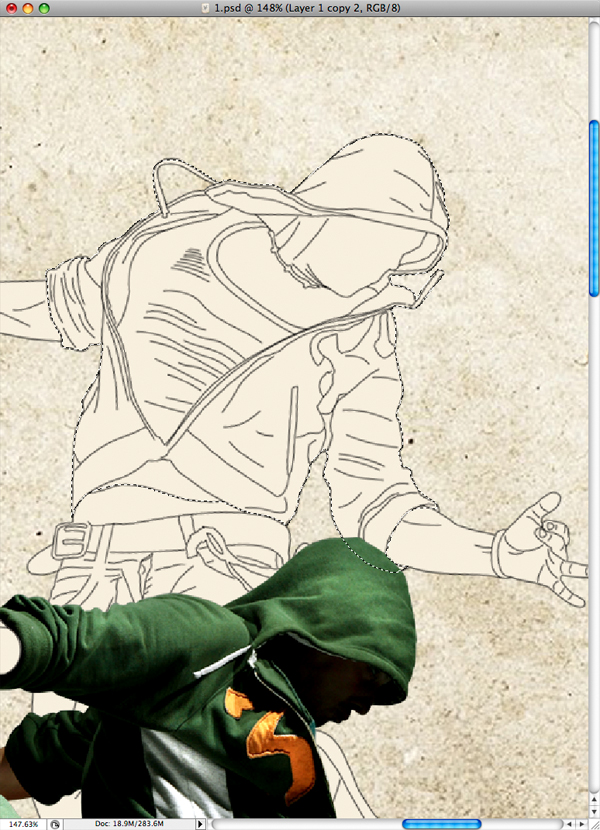
Let's start with image 1, and using the Pen Tool (P) you need to create a path around the dancer.

Step 3
Now that you finished creating the path you need to set your brush size to 1px and Hardness at 100%. Next create a new layer and name it "contour1." Next, using the Pen Tool (P) right-click then select Stroke Path, select the brush and make sure the Simulate Pressure is not selected. Also, you need to make the stroke black.
Step 4
Now that you have created the stroke do not delete the path. Next you need to press Command + Enter to transform the path into a selection and then you need to press the Add Layer Mask button. This will hide the background around the dancer. In the end move the dancer and stroke layers into your document.

Step 5
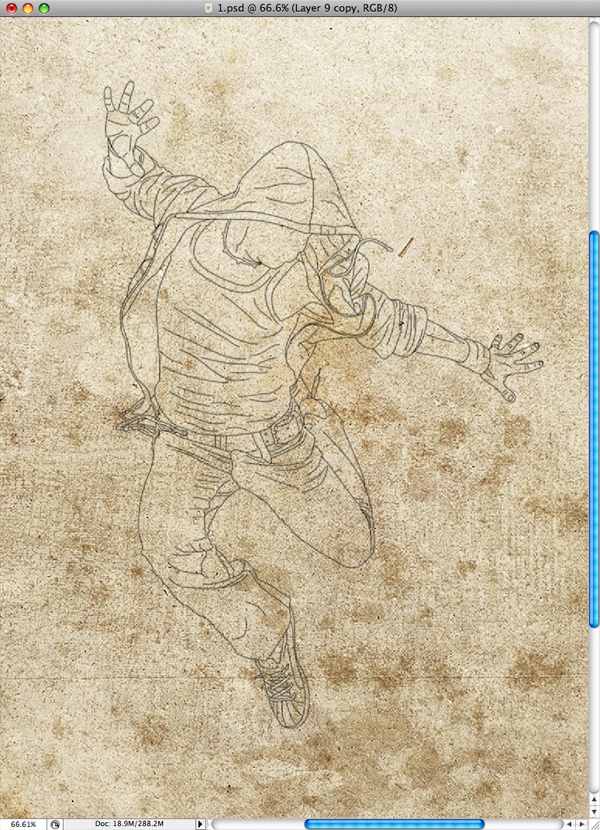
Select the "countour1" layer and using the Pen tool (P) you will need to draw paths all over the dancer. You will need to draw these paths along the shadows or follow the lines of the cloths and then stroke the paths with a 1px black brush. The result is called line art.
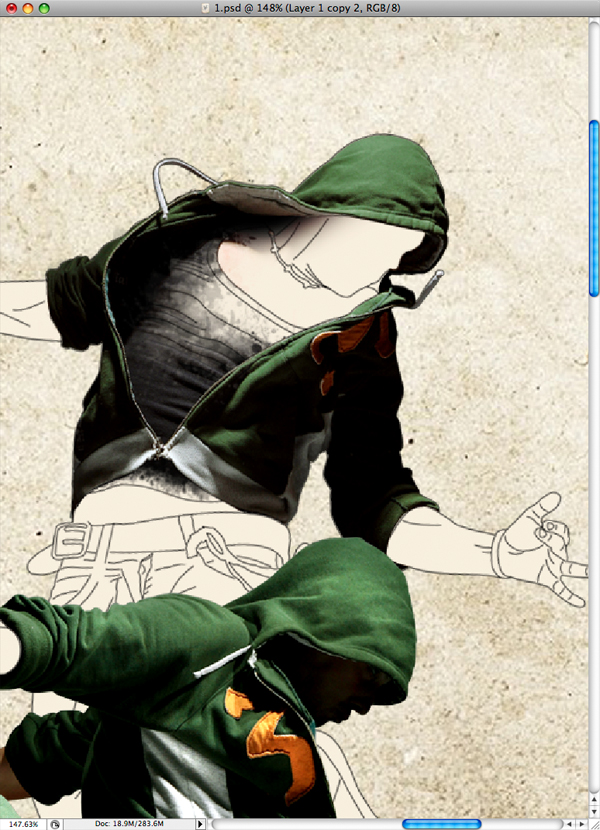
Step 6
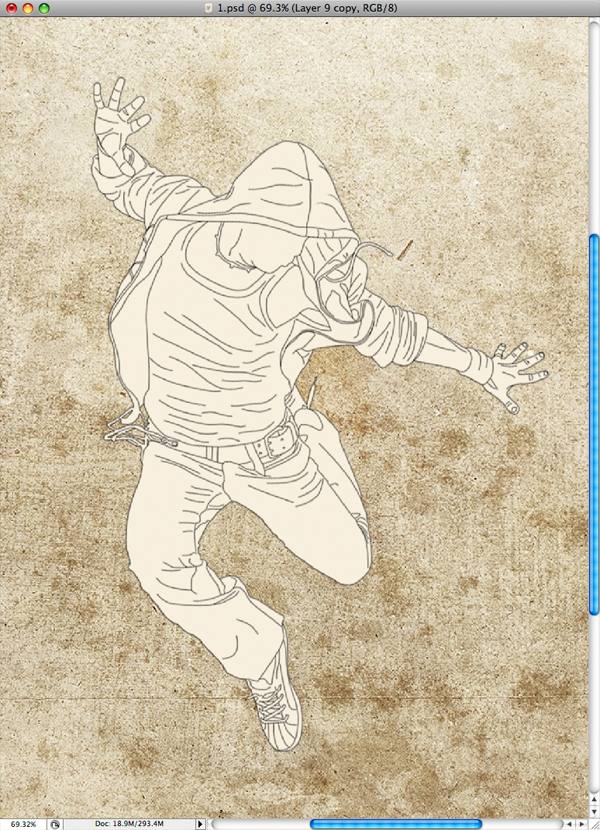
Create a new layer below the "countour1" layer and name it "color1." Command-click on the "Dancer1" layer to make a selection, then you need to fill the "color1" layer with this the color #f7eedd. Also, you need to link these to layers so if you move one the other one will follow.
Step 7
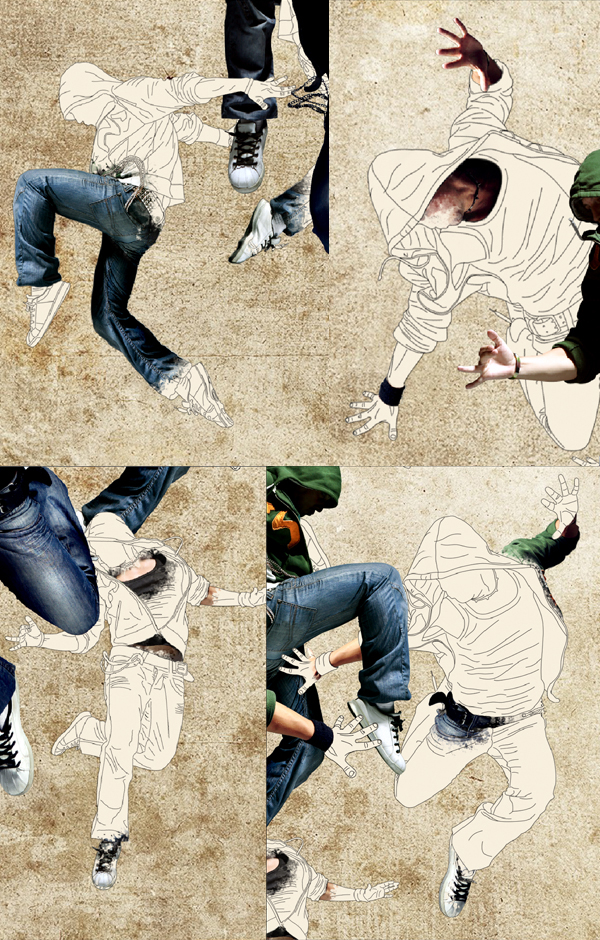
You need to repeat the line art for each image and place them onto the document. Don't just throw them in there, you need to maybe do a sketch first and position each image right.
Step 8
If you followed the instructions so far you should have the layers in this order.
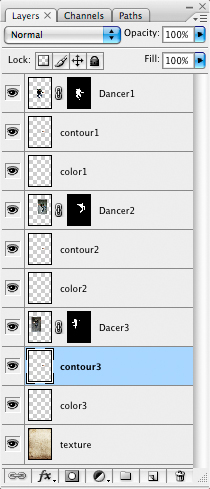
Step 9
Now that you have the line art behind the dancers you will need to mask some parts to make some kind of transformation. Select the Layer Mask of a dancer and simply use the Brush Tool (B) set to black, and draw over the part you want to hide.
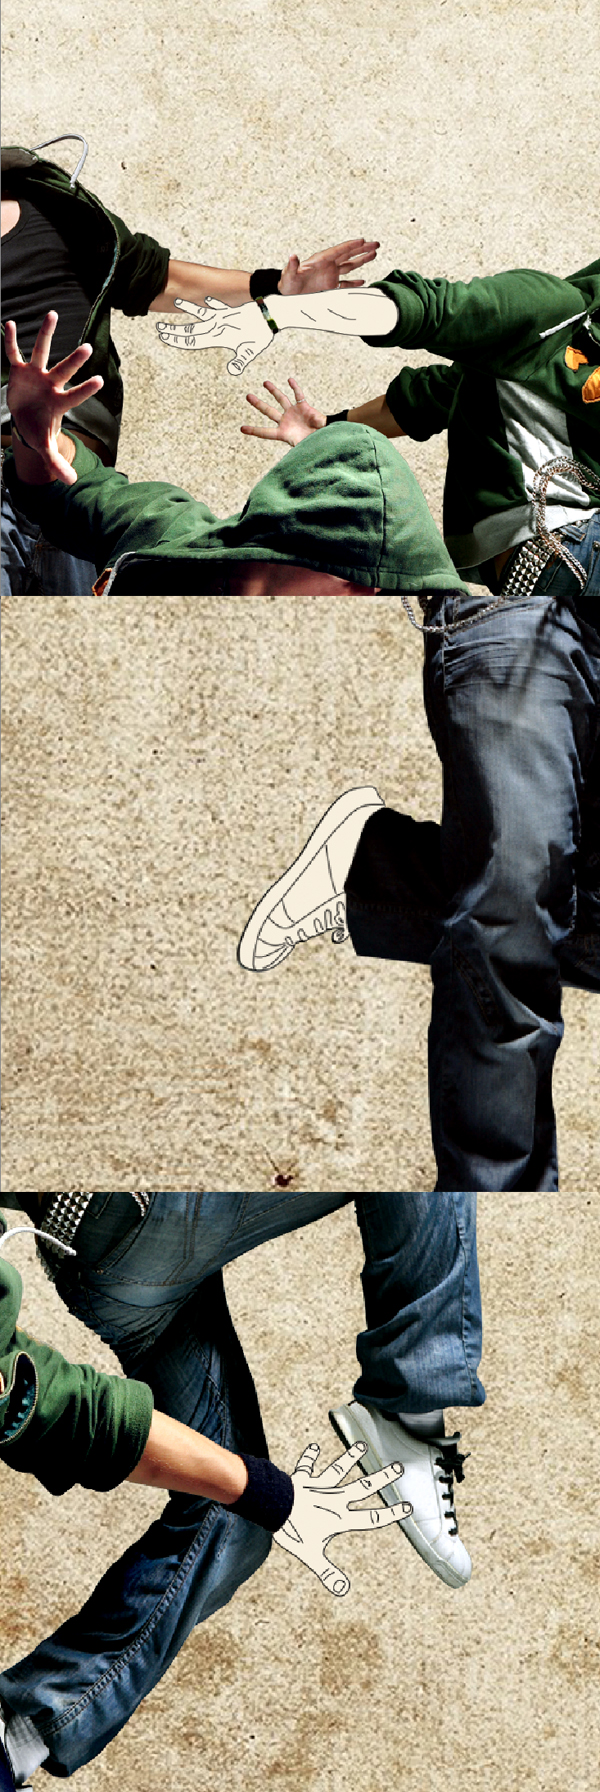
Step 10
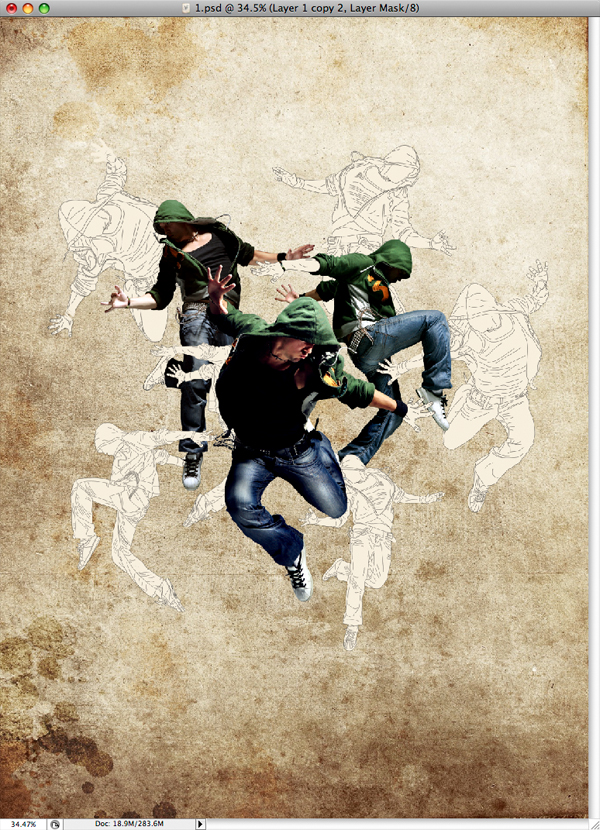
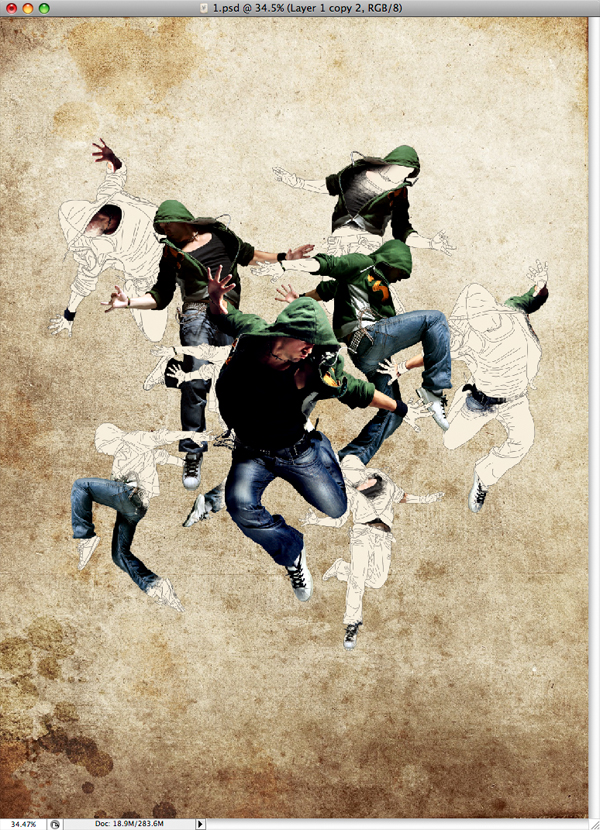
Next, duplicate the dancers, scale them and move them as you wish, but keep in mind that you need to arrange them in a nice composition. In my case, you can see that I have placed six more dancers. Also, I have masked the original dancer images and left only the line art visible. I did this because in the next step we will bring some parts of the dancers back over the line art.
Step 11
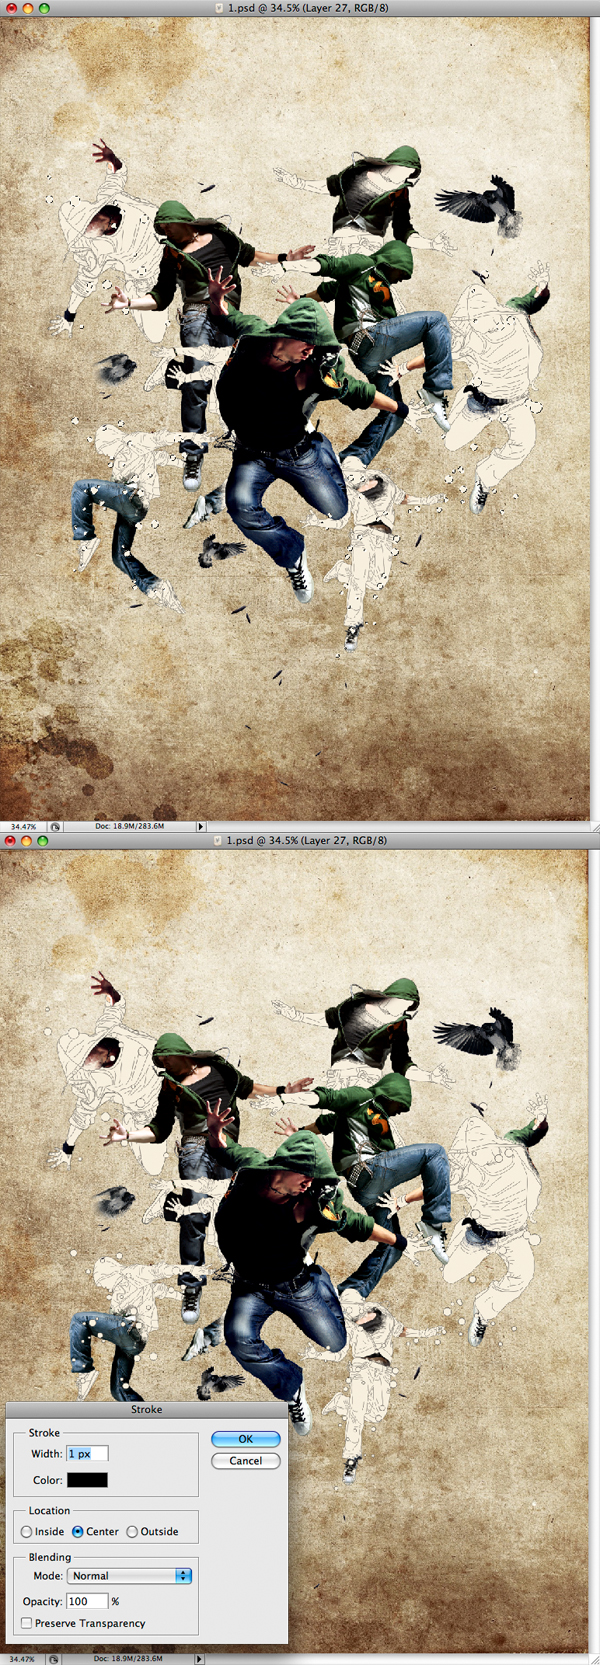
First thing to do before you start to give the line art some life is to make a selection over the part you want to mask.
Step 12
Next, use a splatter brush. You can find some very useful brushes here: DeviantArt or PSDTUTS User Feed Link. Use a black color for the brush and start drawing over the mask and reveal some parts of the dancer. Also, to achieve a really nice effect, decrease the Opacity of the brush to 20%. This way you will build the effect gradually and it will look more interesting.
Step 13
Repeat Step 11 and 12 for each dancer you created. Also, control your composition and if you do something that does not look right, don't be scared to erase and do the effect again and again until you're satisfied with the final result.
Step 14
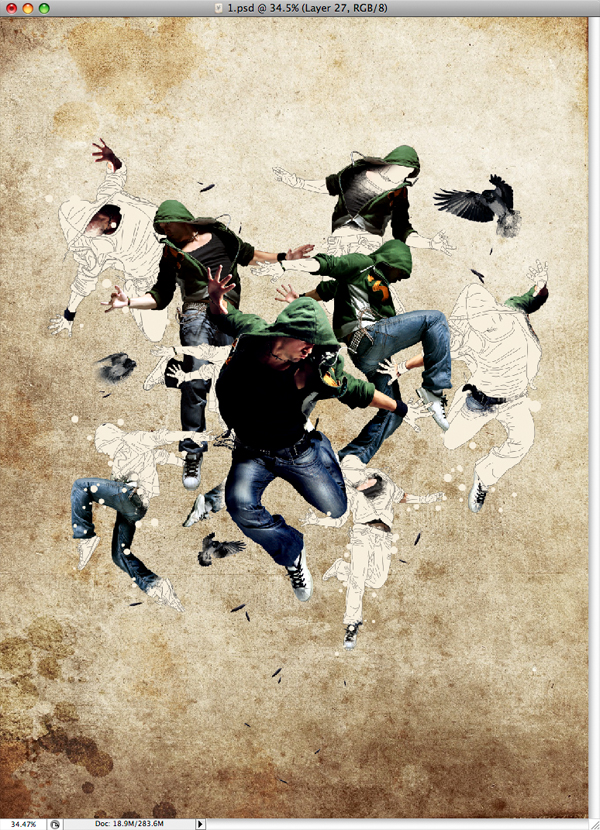
So far you should have something close to what I have done, which has some movement and a balanced composition.
Step 15
Next we'll add just a few crows to the image to fill it a bit more. I used these two images: 1 and 2.
Now that you have the two images, apply the same steps as you did with the other images. This means you will need to cut them, create the line art for both images, duplicate them as many times you think it is necessary, and make the faded effect using the splash brush.

Step 16
Now that you are finished with the birds and dancers you can put them in separate folders just to keep everything clean.
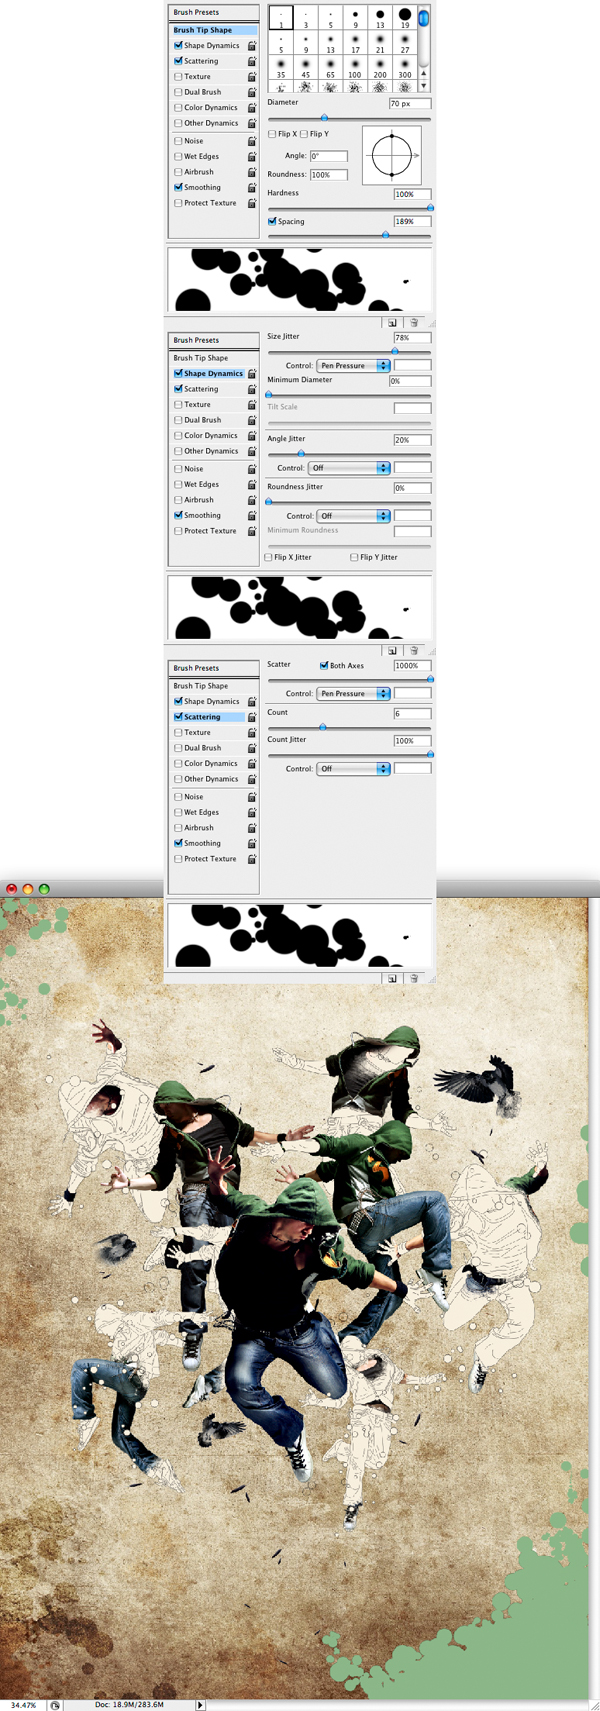
Next use another stock image sxc. Cut and duplicate this feather as many times as you think it is necessary because you will use this to add some more graphic elements. As you can see, I did not put too many, just a few are enough to give the illustration an extra feeling of movement.

Step 17
Next, create a new folder on top of all the layers and name it "circles." Also, create a new layer into this folder and use my settings for the Brush Tool (B) and the same color you used for the line art #f8efde.
Now that you have set your brush, start drawing a few circles around the working space. Be careful not to overdue them.
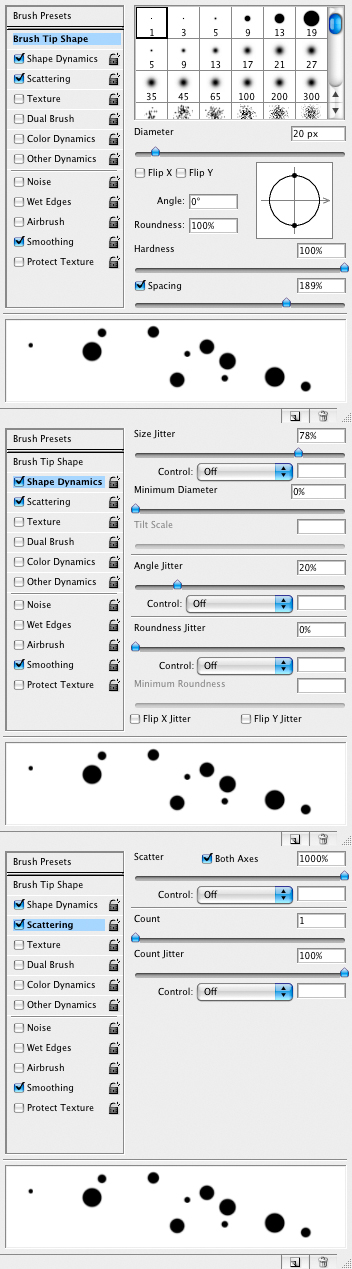
Step 18
Create a new layer over the circles you just created, then Command-click on the circles layer to make a selection. Next, you need to be over the new layer you created, use the Lasso Tool (L) and Right-click, then select Stroke. Set the Radius to 1px and color to black, also make sure you set it to Center.
You can repeat this step and make more transparent circles. It is up to you.
Step 19
Next, we'll create a new layer and again draw some circles, but this time use different settings and a different color #8bb687.
Step 20
Repeat Step 19, but this time use a different color and make the circles in the opposite direction #99a3b4.
Step 21
Finally, set both layers from Step 18 and Step 19 to Color Burn.
Conclusion
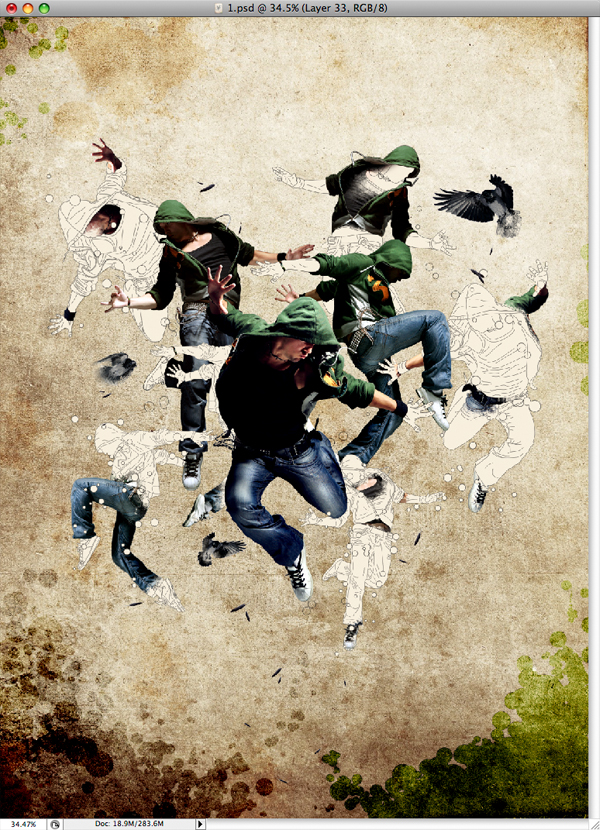
In the end you can add some more spots if you want to, also add your logo and you are done. You can view the final image below or view a larger version here.
0 comments:
Post a Comment