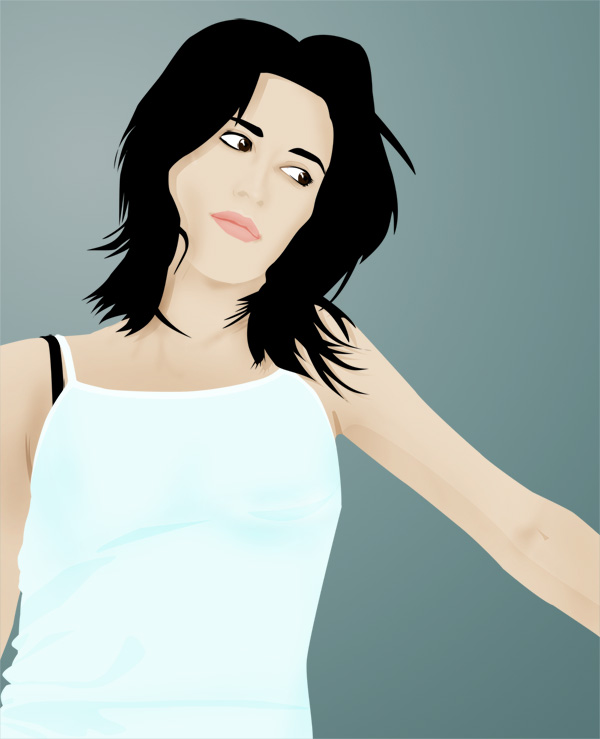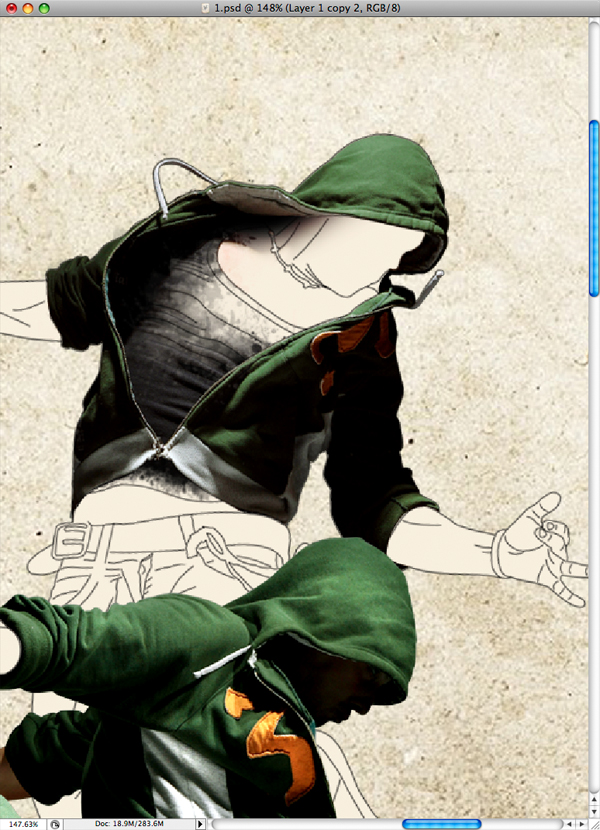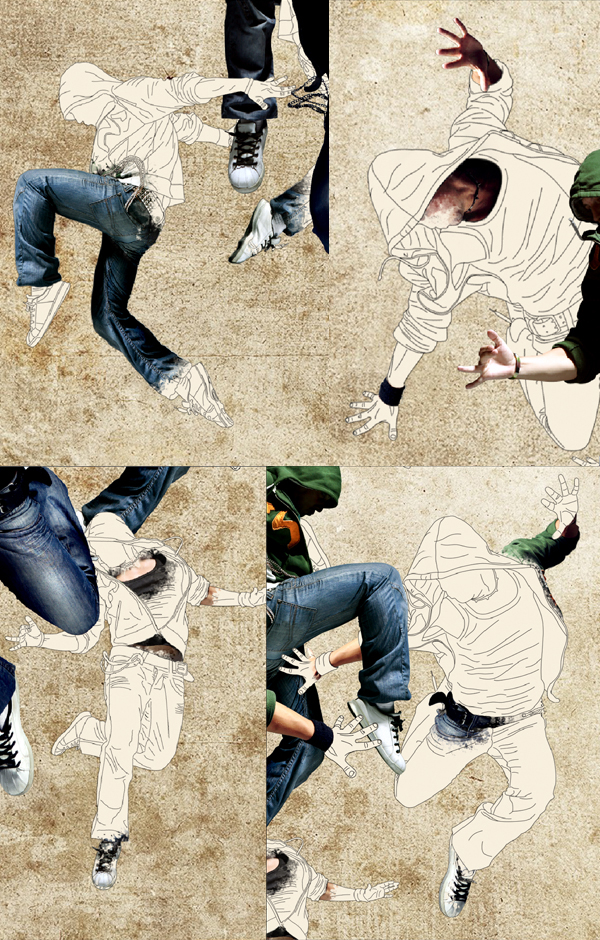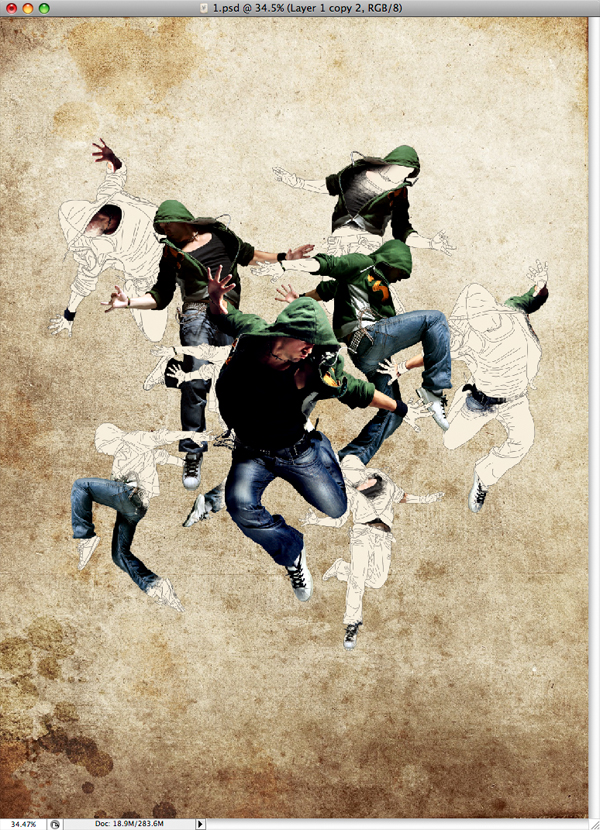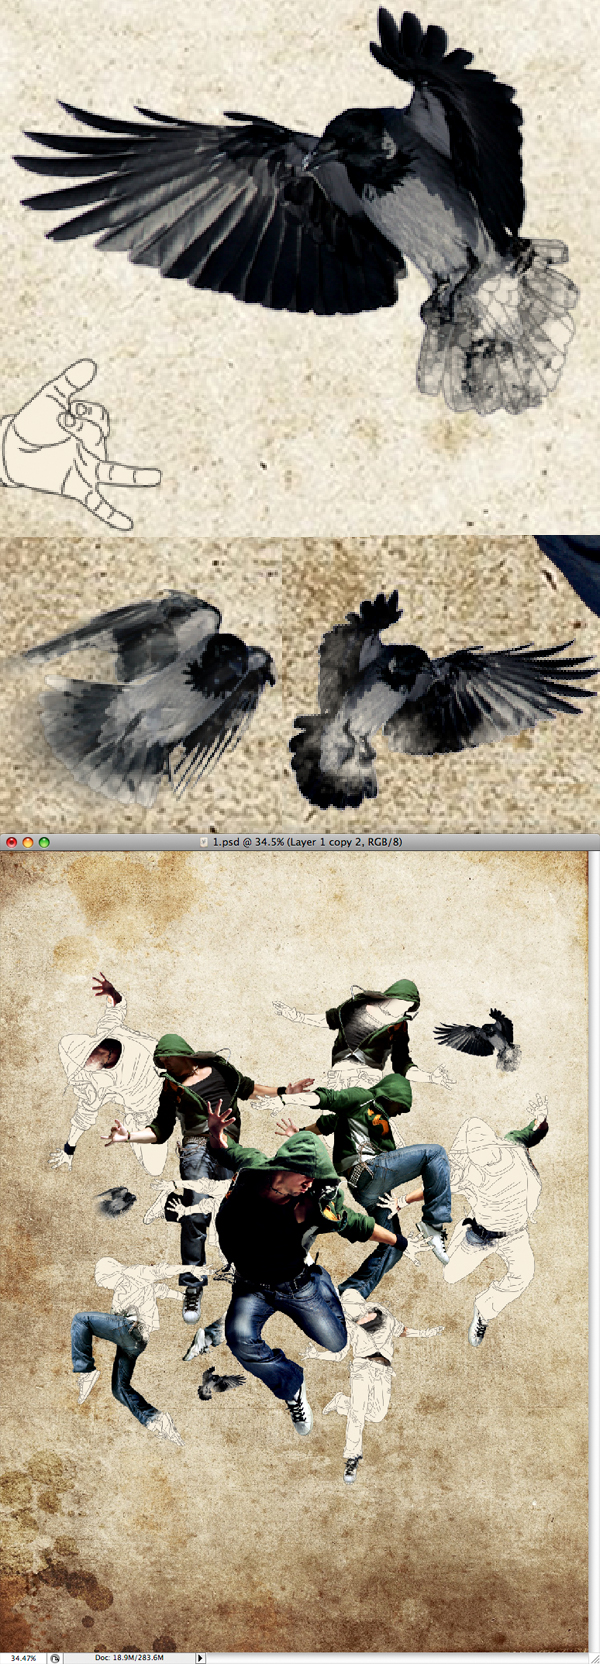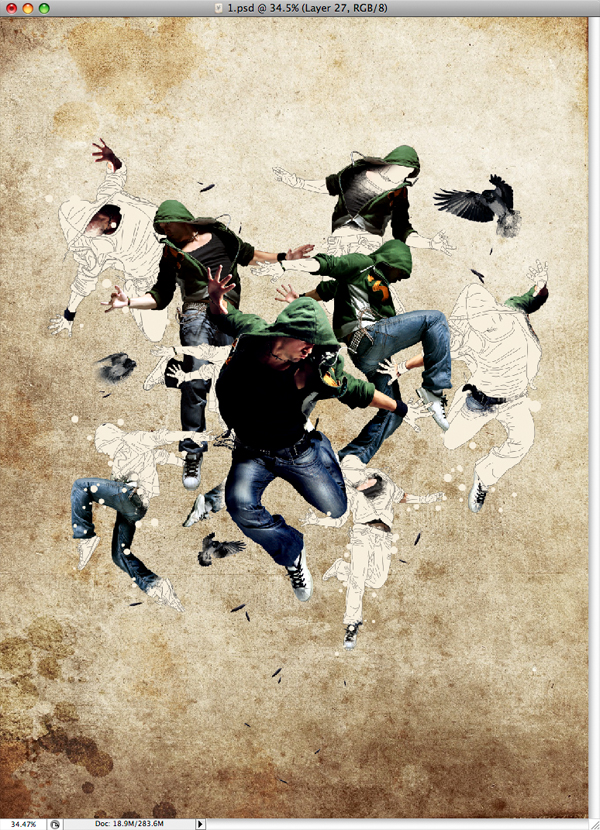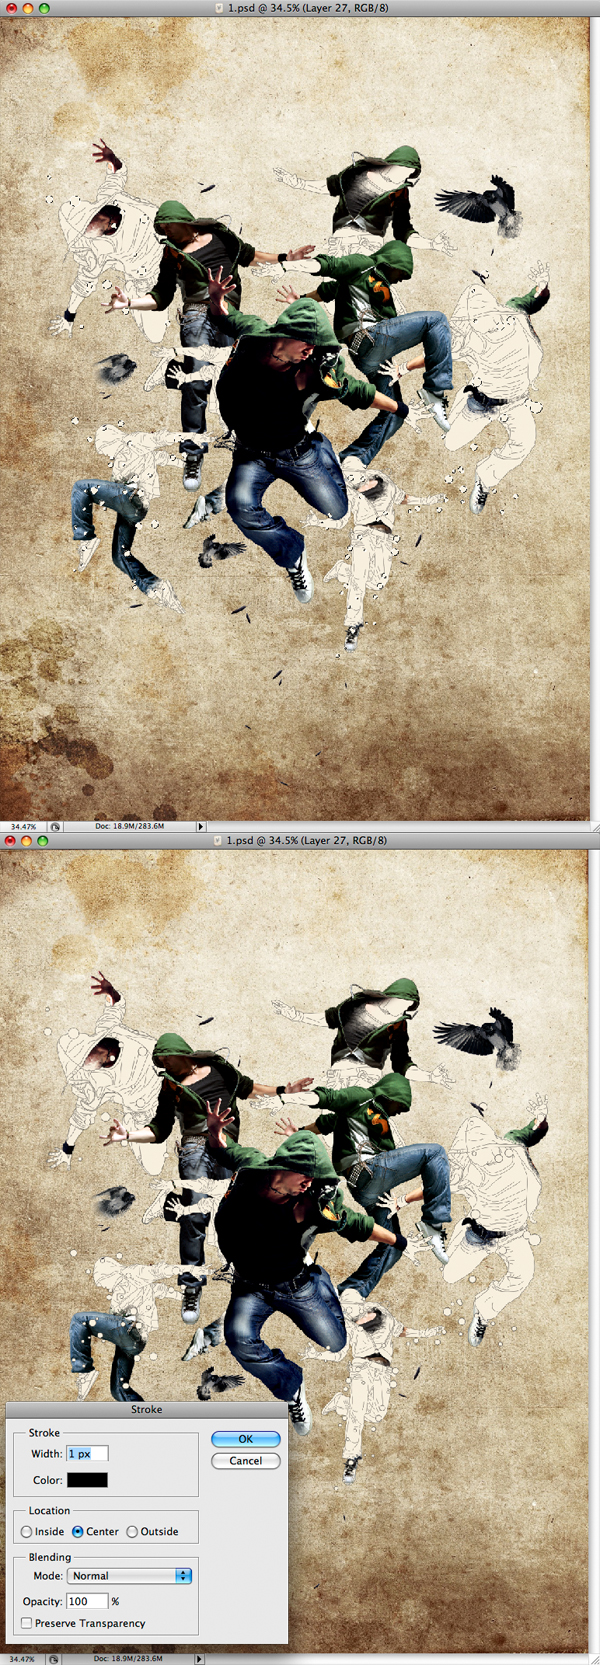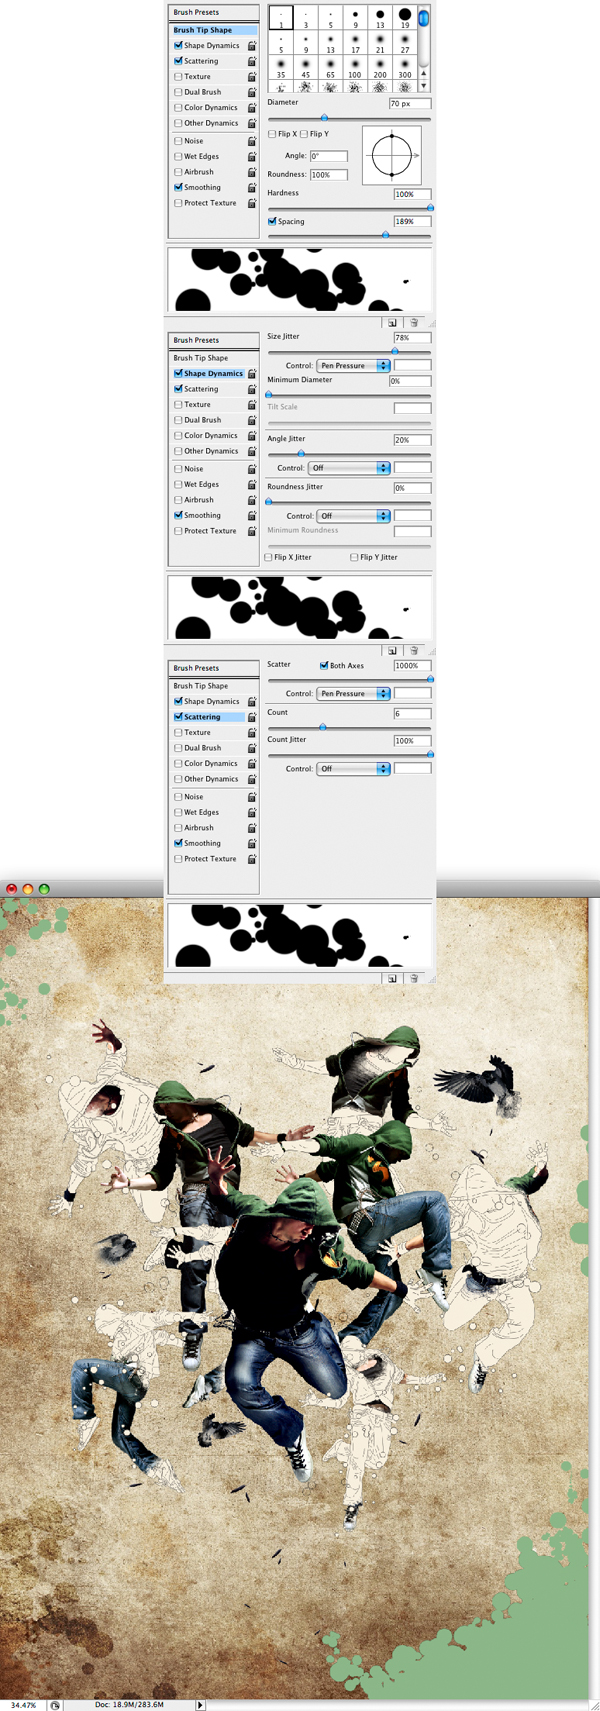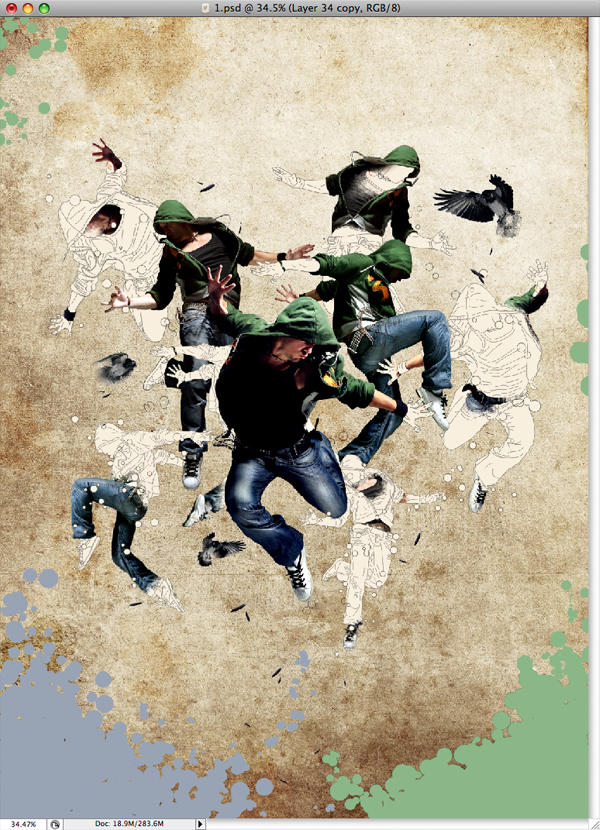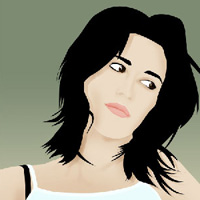
In this tutorial, you'll learn how to create an illustration of a model. We'll be creating it in vector style, though using Photoshops Burn Tool to add some dimensionality to the illustration. By the end you'll have enough information and practice to create your own. Although, it doesn't require any special ability you should be proficient in the use of the Pen Tool. Drawing skills would also help, as well as a tablet, though it's not necessary.
Final Image Preview

Step 1
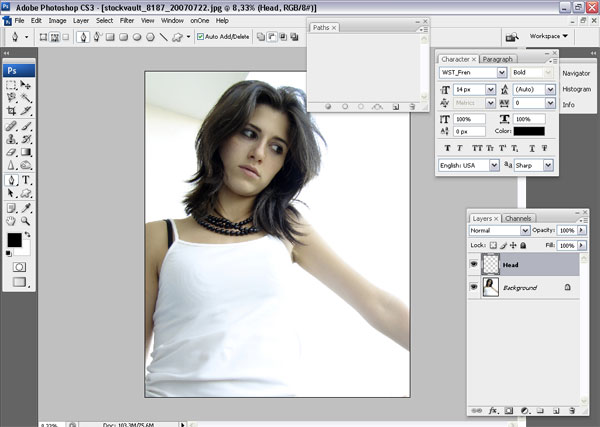
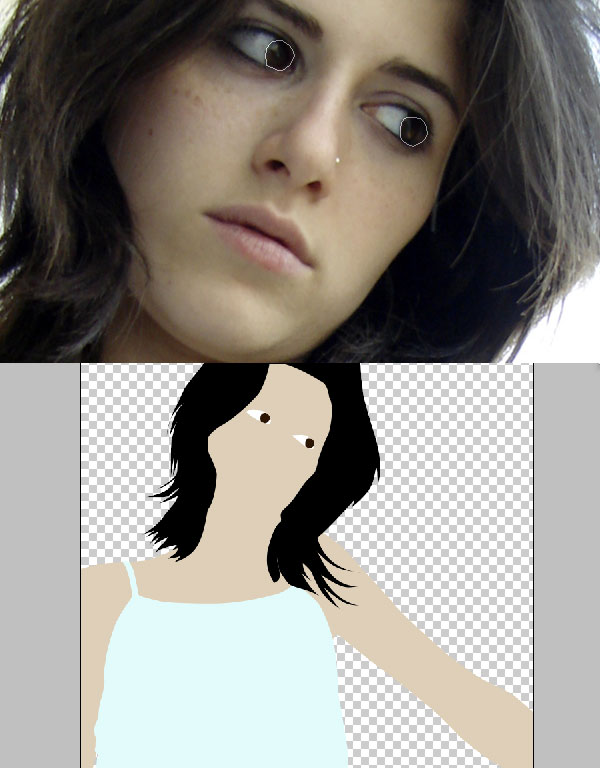
Before we start we need to find our inspiration. For this tutorial, I used this photograph I found at Stockvault. After downloading the image, open it in Photoshop.
Step 2
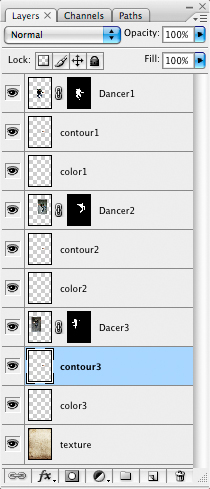
You'll be using many layers to create this artwork, so try to keep everything organized. Create a new layer over the image and name it "Head." Then grab your Pen Tool (P), and make sure it's set to Paths.

Step 3
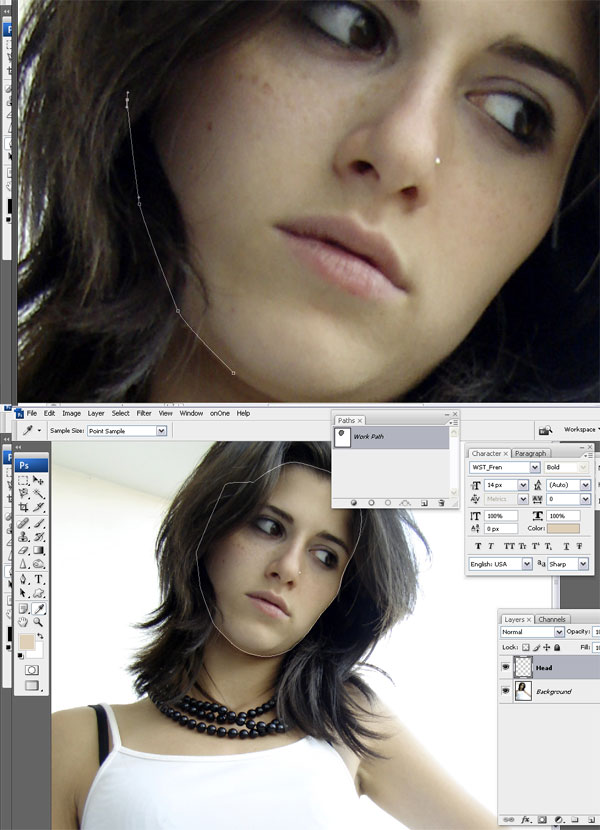
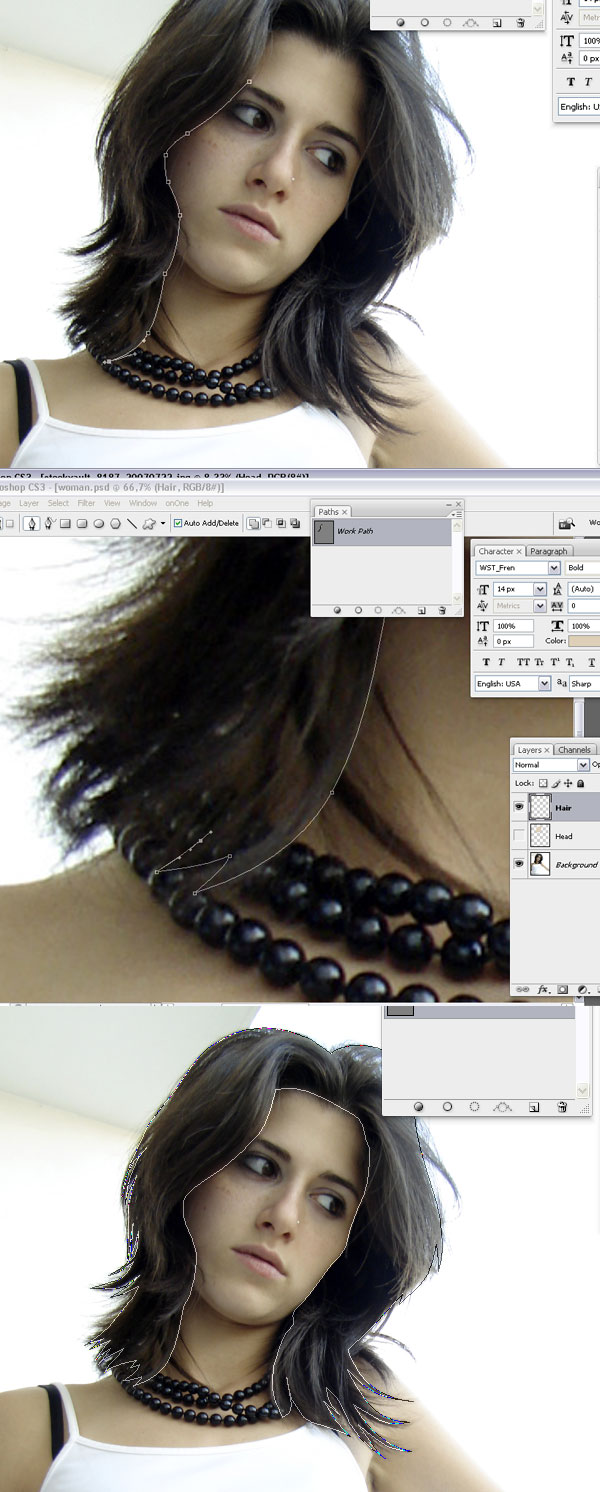
Hold Ctrl + Space to select your Zoom Tool. Then zoom into the model's face. Trace the outline of her face. Don't worry about the parts covered by the hair. They'll be taken care of soon. After finishing, select the color #decfb8 and fill the shape.
Step 4
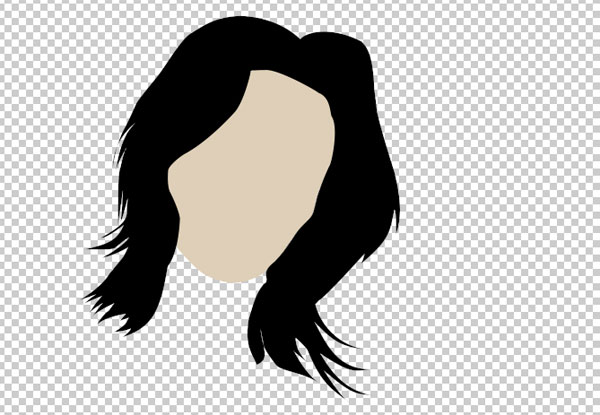
Create a new layer over the "Head" layer and name it "Hair." Repeat the same process you did with the face. Then take care with the inner side of the hair, as it will define the shape of her face. Don't worry about all hair details yet though. Then fill the shape with black.
Step 5
By now you should have something similar to the image below. It's strange so far, but we'll make it nice.
Step 6
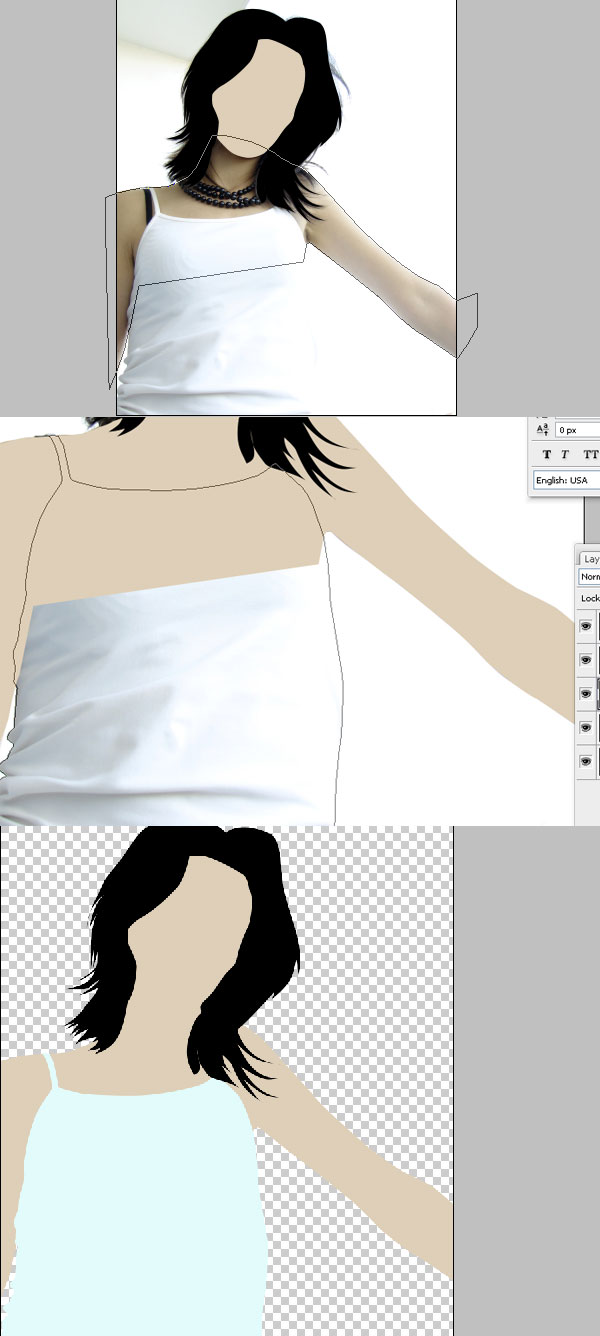
Create two more layers under the "Head" layer and name them: "Body" and "T-Shirt." The "T-Shirt" layer should be over the "Body" layer, and both under the "Head" layer.
Repeat the same process. Beginning with the body and neck, and fill the shape with the same color as the head. Notice it's only important to correctly draw parts that won't be covered by the other layers. Then create the "T-Shirt" and fill it with a light blue.
Step 7
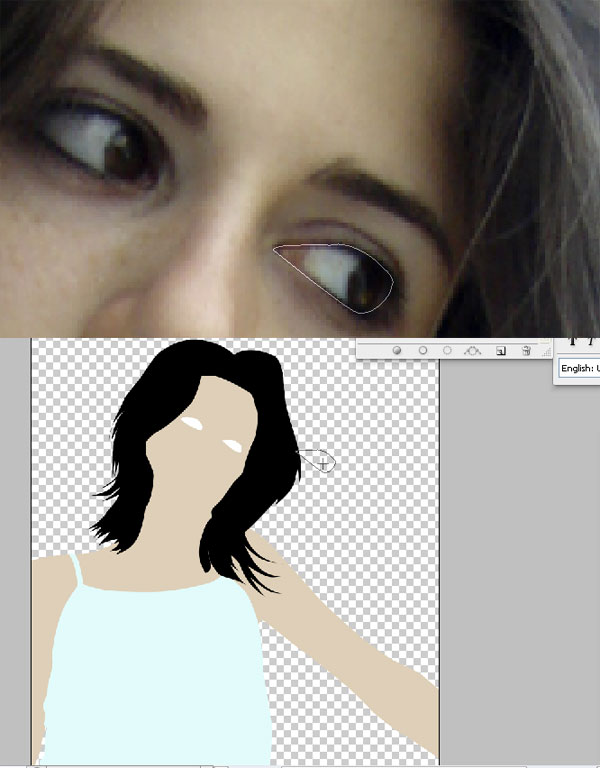
Now a tricky part, the Eyes. Maybe you would like to create a Layer Set only for the eyes, since we're going to use many layers. Create a new layer called "Eye." Then Zoom in and draw the shape around both eyes. Then fill it with white.
Step 8
Create a new layer, and name it "Iris." Draw the path around the iris and fill it with black.
Step 9
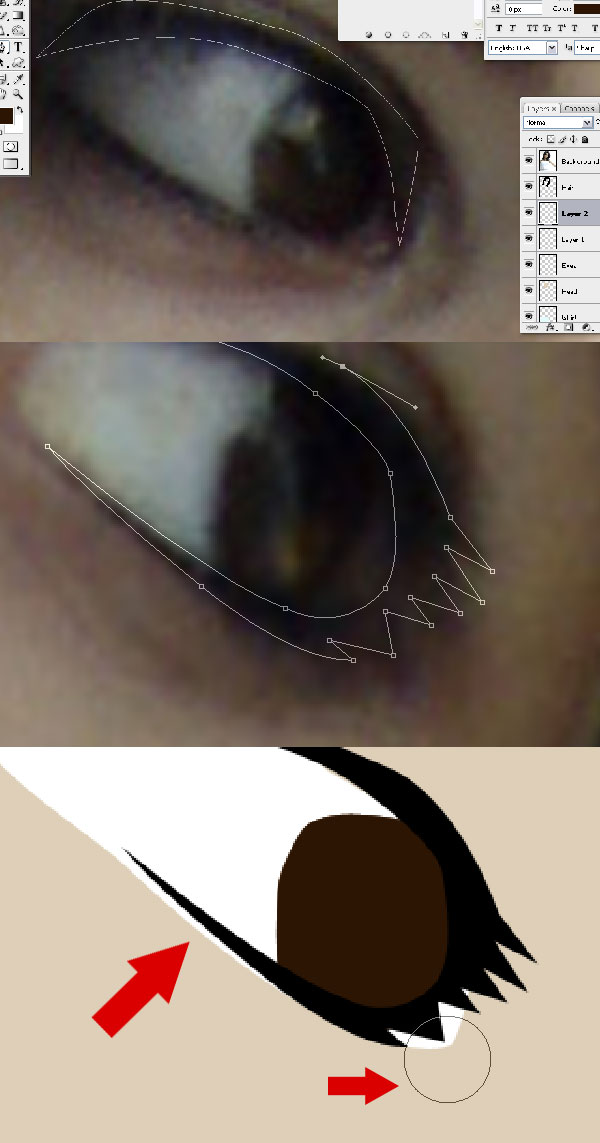
Create a new layer, and name it "Eyelash." Draw the path around her eyelash to contour the eyeball. Fill it with black. Use the Eraser Tool to erase all the white areas that surpass the Eyelash area.
Step 10
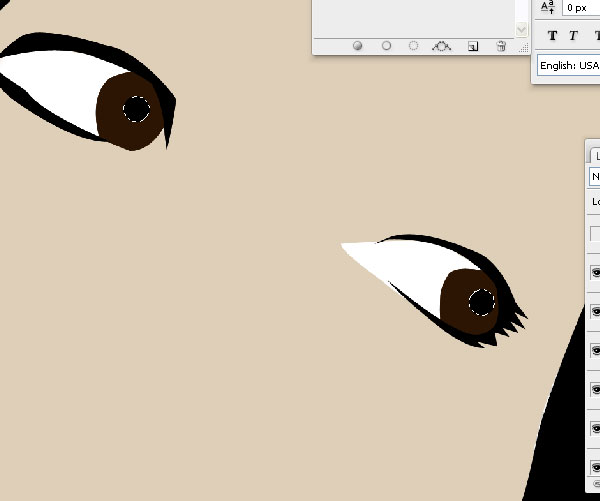
Create a new layer, and name it "Retina." Draw the path around the retina and fill it black.
Step 11
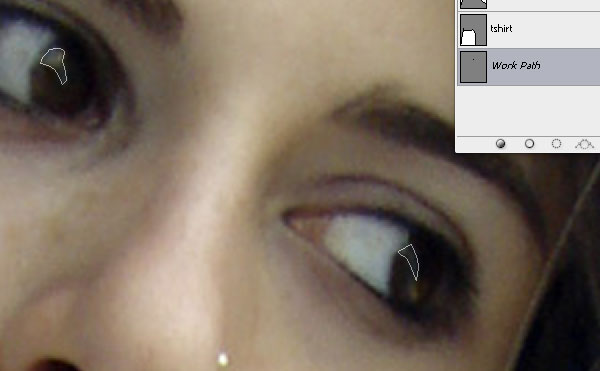
Create a new layer, and name it "Highlights." To give the eye a little more life, select the highlights on the iris and fill them with white.
Step 12
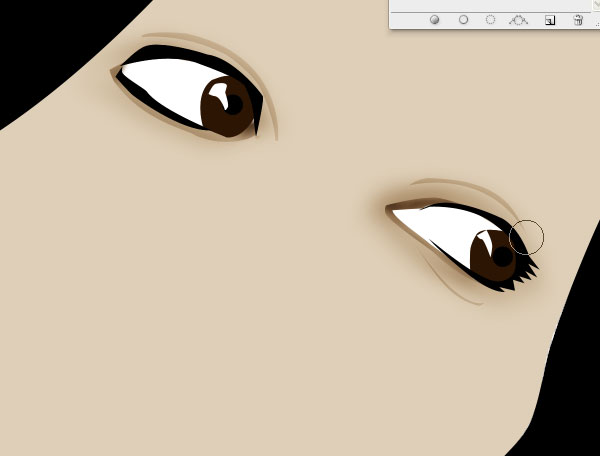
Now we'll give the eyes a little depth. Select the "Head" layer. Draw paths around the eyes. Right-click the path and choose Convert Path To Selection. Grab the Burn Tool (0) and set it's Exposure to around 25%. Darken those areas trying to follow the picture's intensity.

Step 13
Go a little further and darken the area around the eye using the Burn Tool.
Step 14
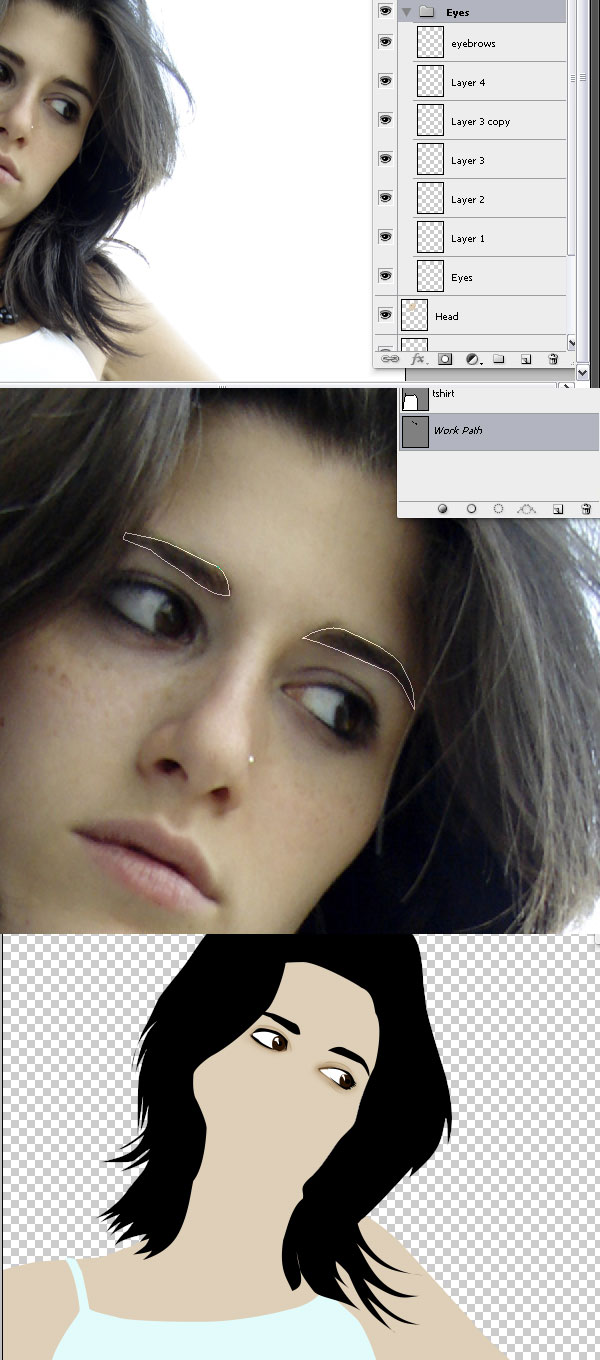
Go back to the "Eye" Layer and create a layer called "Eyebrows" above it. Create a path around the eyebrows and fill it with black.
Step 15
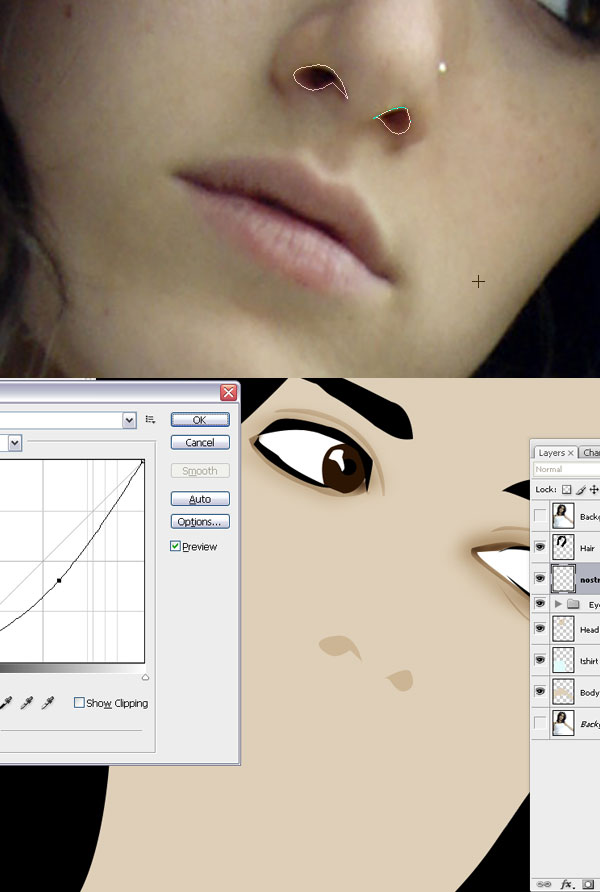
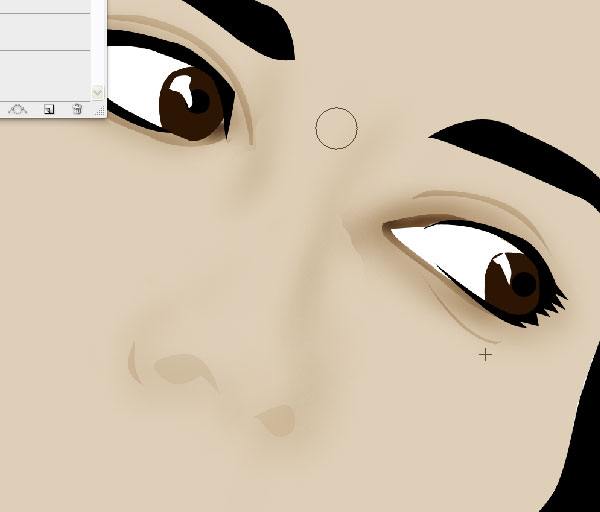
Now you're finish with the eyes, so create a new layer outside the "Eyes" Layer Group and call it "nostrils." Create a path around her nostrils, right-click to transform the selection. Then fill it with the same color you chose for her face. Open Curves (Command + M), and push the curve a little bit down to darken the color.
Step 16
Select the "Head" layer. Draw a path around the bottom edges of her nose. Open Curves (Command + M), and push the curve a little bit down to darken the color.
Step 17
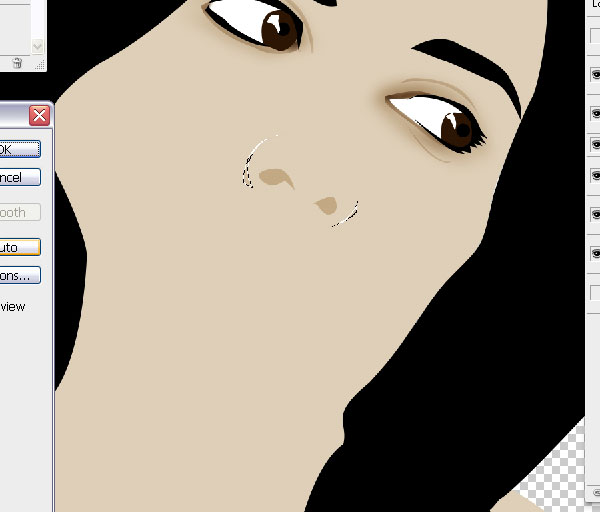
Still on the "Head" layer, select the Burn Tool (0). Then darken the areas around her nose to give it form and depth. Use the picture as a reference.
Step 18
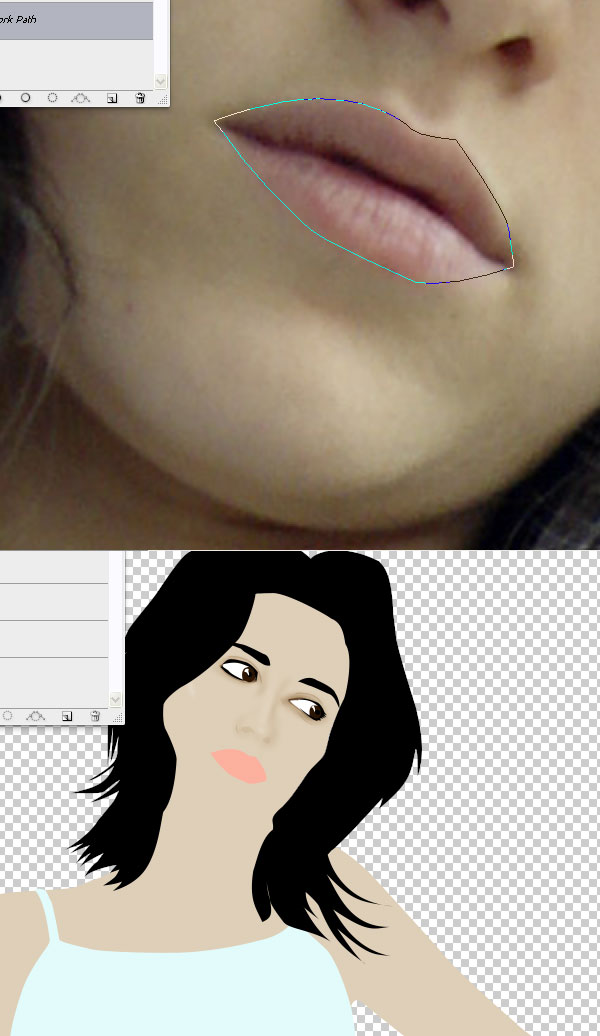
Create a new layer at the top and name it "Mouth." Then draw a path around her mouth and fill it with #fcb09e.
Step 19
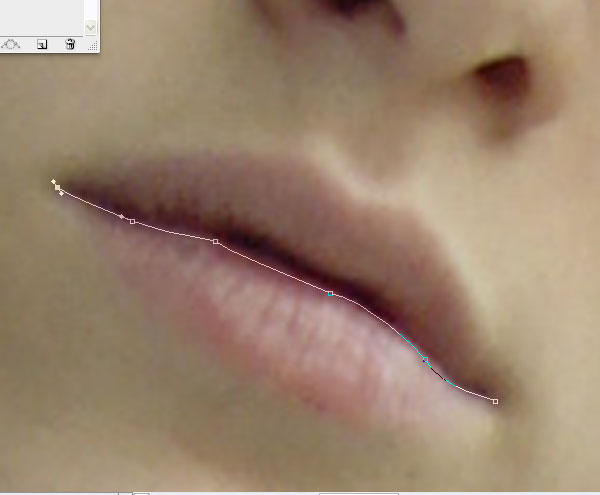
Draw the contour around the darker area in the middle of her mouth. Right-click to make it a selection, then open curves (Command + M) and darken it a little.
Step 20
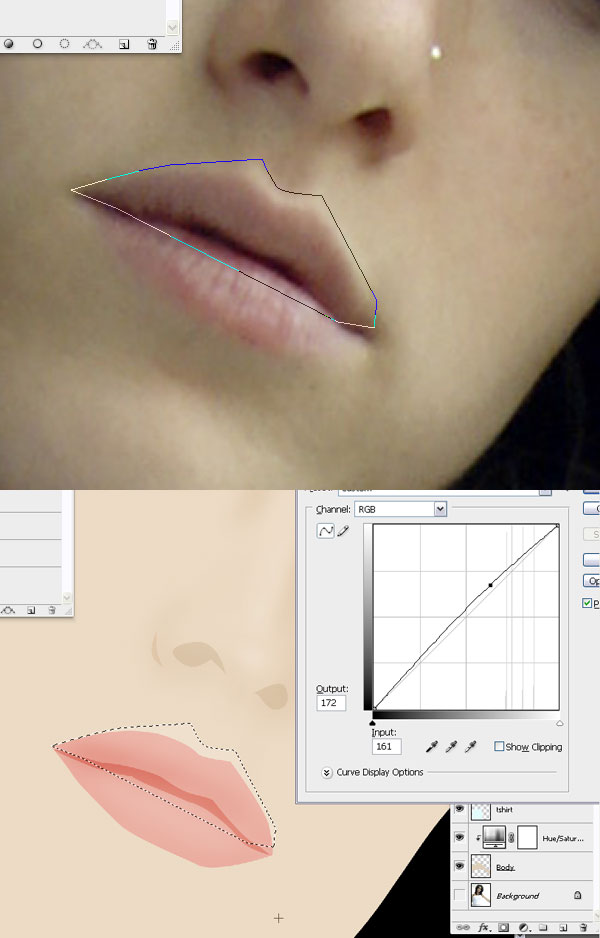
Select the "Head" layer. Then draw a path around the lighter skin area on the upper part of her mouth. Use the picture below as a reference. Open Curves (Command + M), and lift the curve a little to lighten the area.
Step 21
To finish it use the Burn Tool to darken shadow areas around her mouth in both the "Head" and "Mouth" layers.
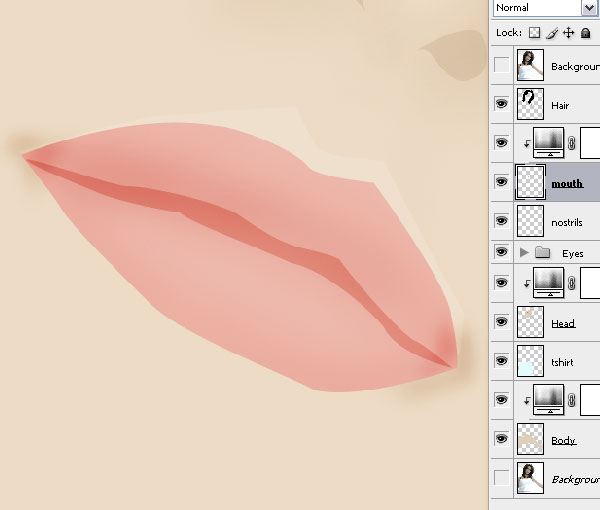
Step 22
With the Burn Tool still selected, select the "Body" layer and darken the shadow areas in her neck.
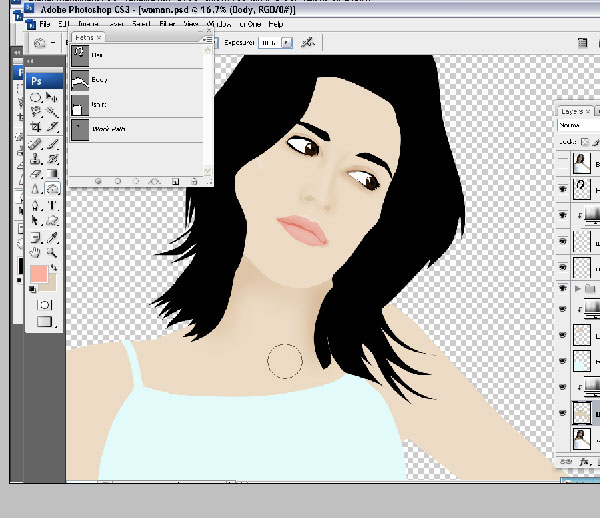
Step 23
With the "Body" layer still selected, use the Pen Tool to select the shadows in both her armpits. Then right-click to transform it to selection, open Curves (Command + M), and darken those areas.
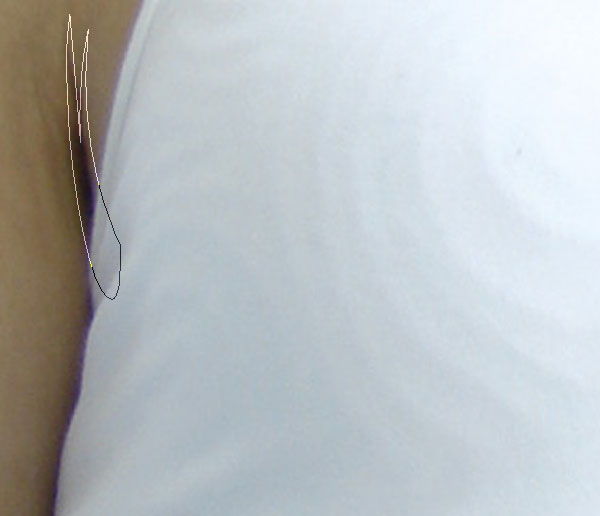
Step 24
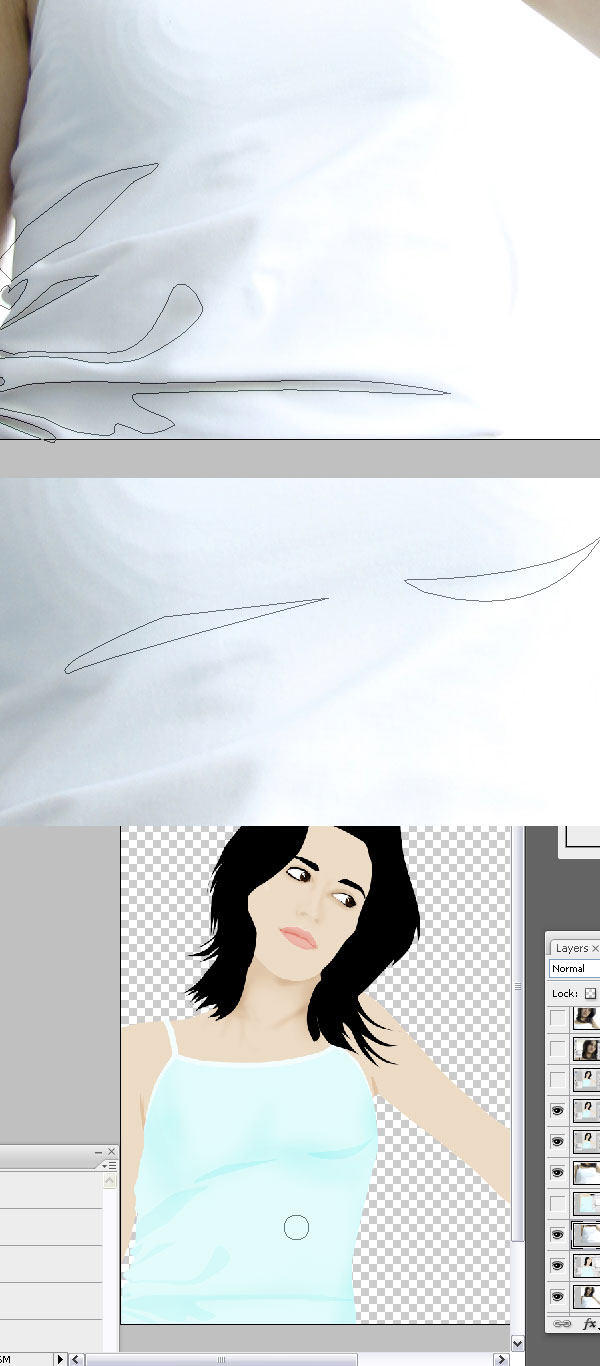
Select the "T-shirt" layer. Then use the Pen Tool to draw around the upper lighter part of her t-shirt. Right-click to transform it into a selection, open Curves (Command + M), and lighten those areas.
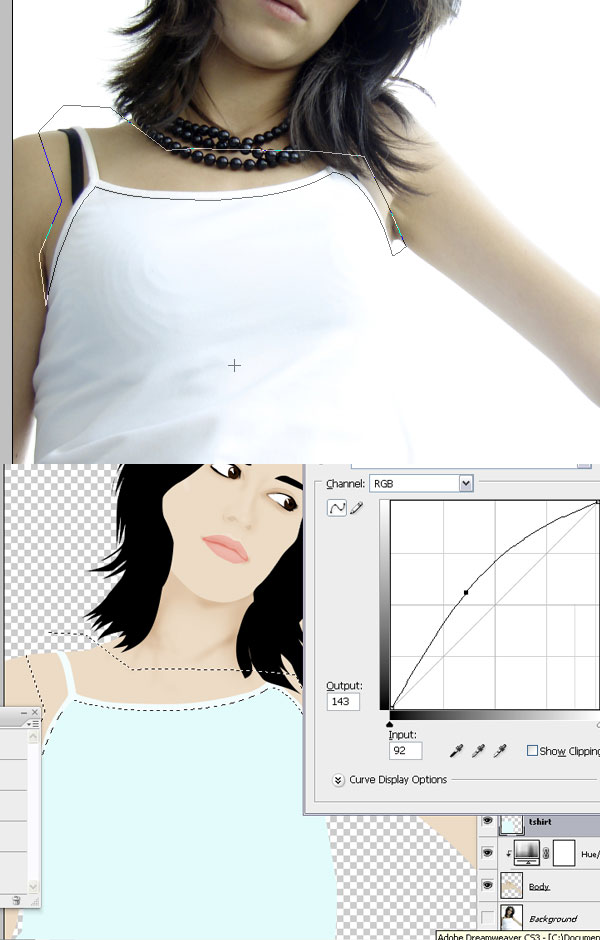
Step 25
With the "T-shirt" layer still selected, the use Pen Tool to draw around the shadows in her t-shirt. Right-click to transform it into a selection, open Curves (Command + M), and darken those areas. Then use the Burn Tool to give it some finishing touches.
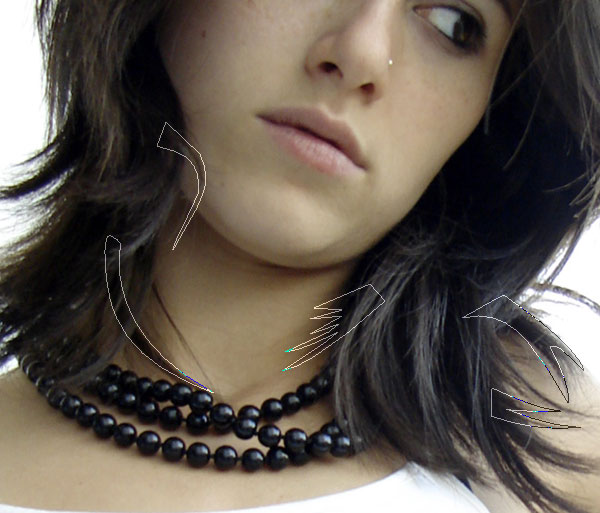
Step 26
Select the "Hair" layer. Then use the Pen Tool to draw around the fringes and give more detail to her hair. Fill it with black.
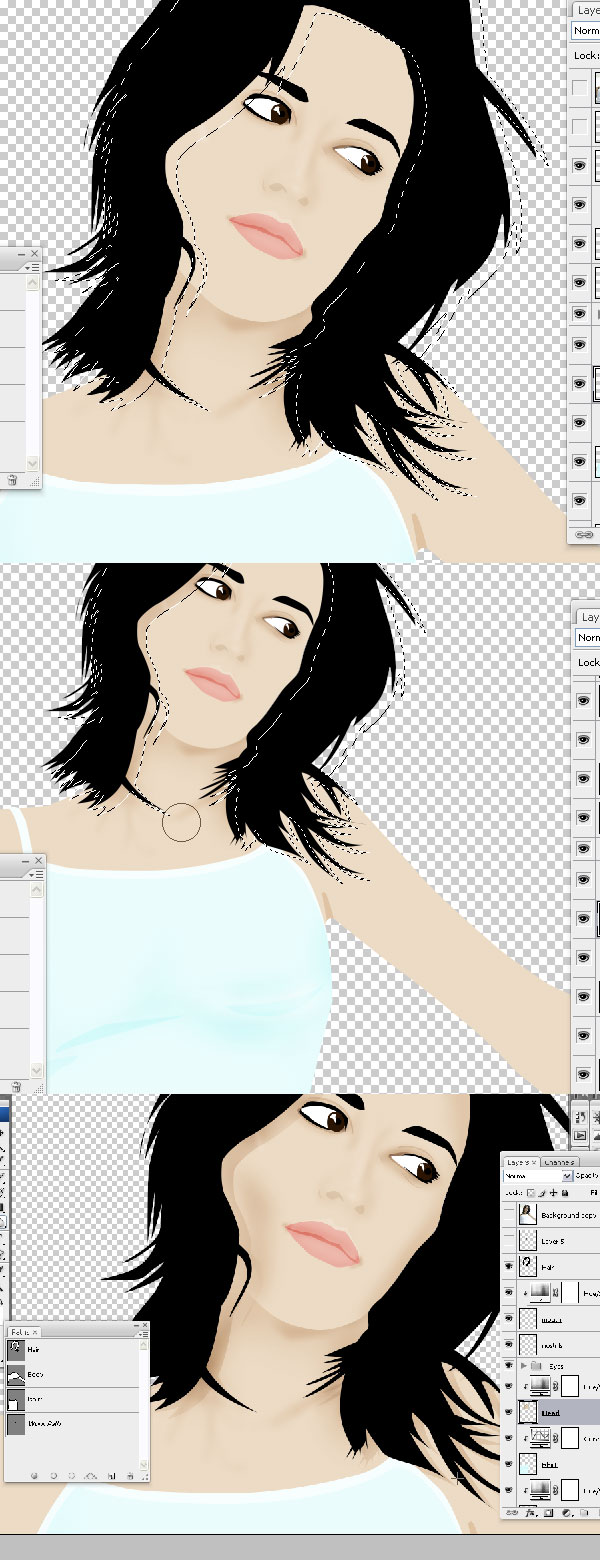
Step 27
Command-click the "Hair" layer to select it. Use the Down and Right Arrows to move the selection a little bit down and to the right, as in the picture.
Select "Body" layer and use the Burn Tool to make the hair shadow on her body. Do the same in the "Head" layer. Then use the Burn Tool to create some more shadows on her face. Use the picture below as a guide.
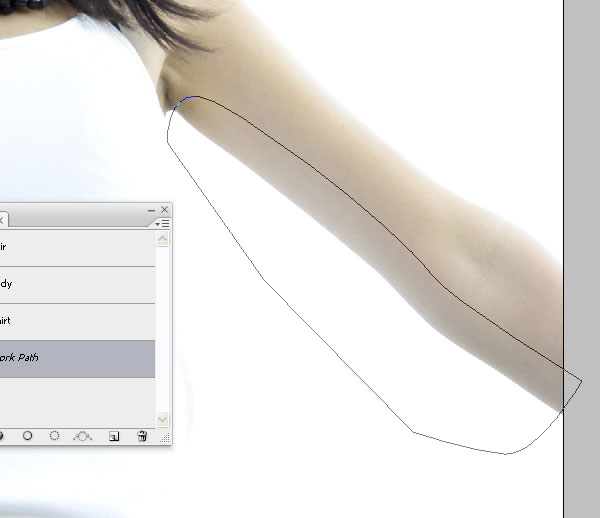
Step 28
Select the "Body" layer and use the Pen Tool to draw around the shadows on her arm. Right-click to transform it into a selection, open Curves (Command + M), and darken those areas.
Step 29
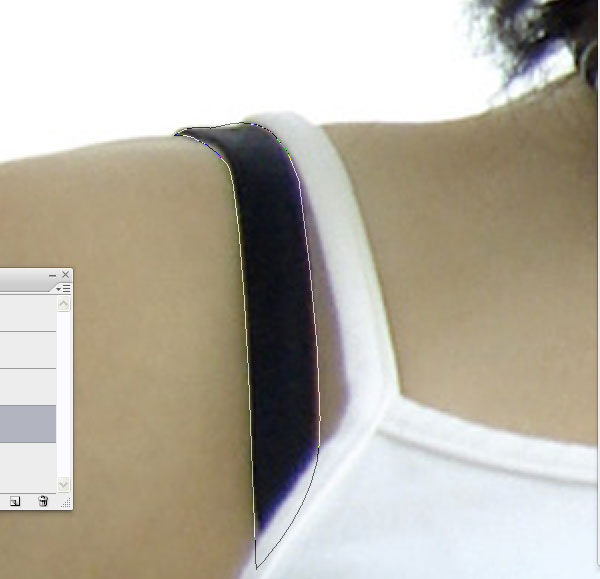
Create a layer under the "T-Shirt" layer. Select the black bra on her right shoulder and fill it black.
Step 30
Create a new layer under all the others. Fill it with a cool colored gradient background and you're done! This tutorial shows you how to simply create vector style illustrations and use the Burn Tool to add a bit of depth, softness, and interest to the illustration. It's a quick and effective style for you to use in your own illustrative work. You can view a larger final version here.
